Why Every Developer Should Have a Blog (and How I Built Mine)

Why did I decide to create my own blog?
A while ago, I watched Fábio Akita talk about the importance of programmers creating their own personal blogs. Whether it’s to share a project, document your studies, or even try your luck as an influencer, in the end it doesn’t matter. What really matters is the practice of writing. If it’s about something you enjoy or want to record, the process stops being painful and becomes enjoyable.
That’s when I realized that making these “notes” genuinely helps me retain what I’m learning. This practice is supported by research in neuroscience and cognitive psychology: taking notes is one of the most effective tools for memory consolidation. The idea is basically to tell your brain that what you’re writing is important. When you write something in your own words, you’re processing the information and creating stronger neural connections. The article Listening and note takin explains this well.
On top of that, there’s the concept of a “mind backup.” If, at some point, I need to redo a task or apply an old concept, I’ll know exactly where to look.
The search for the ideal tool: From Notion to Obsidian
Failing with Notion
I started by creating my first notes in Notion, but I ended up getting lost in customization. Notion is excellent and offers thousands of possibilities—which was exactly why I failed. I spent more time learning how to create templates, link notes, build databases, than actually writing.
Also, the fact that everything was tied to the platform bothered me—nothing was truly “mine.” The final straw came when I tried to open a note without an internet connection and couldn’t, because everything was in the cloud. To create a “backup of my brain,” I needed to own the information.
Obsidian’s simplicity
I started looking for an alternative that was simple and gave me full control, and that’s when I discovered Obsidian. It’s a visual Markdown editor that, even though it allows powerful plugins, perfectly delivers what I was looking for at the core: something easy and customizable.
Without going into too much detail about Obsidian, what I did was basically install a few essential plugins that made my workflow pleasant without creating dependency. If Obsidian ceases to exist tomorrow, my notes are still with me and can be read in any text editor. Everything is offline, synced across my devices, and without reliance on proprietary clouds.
Sharing knowledge: LinkedIn vs. Dev.to
Once I started enjoying writing, I decided to share my notes. Writing for yourself is liberating—no pressure to post frequently, no need to please anyone. Of course, there’s nothing wrong with wanting to write articles with the goal of becoming famous or turning into an “influencer.” The only issue is that most people will get frustrated: you need a consistent posting cadence, you need to constantly engage with your audience, and of course you have to be careful not to get “canceled.”
I initially tried LinkedIn, but the experience was bad for technical content. The lack of native Markdown support makes code formatting a painful process. It works well for short texts or experience reports, but for code, it falls short.
So I decided to try Dev.To, and right away I liked it a lot because posts are written natively in Markdown (it was basically a “copy and paste” from my notes). The platform offers a solid metrics dashboard and generates interesting organic engagement. I plan to keep using Dev.to for technical articles.
Hugo Blog Engine with Hextra
While reading a post on Akita about his new blog, I discovered the perfect tool for my purpose: Hugo. It’s a static site generator that turns Markdown into HTML. I chose the Hextra theme for its simplicity and features like a powerful search and tags.
Quick Installation and Setup
Following the “first do it, then improve it” mindset, the installation was straightforward. On macOS, via Homebrew (for other systems, just check the oficial documentation)
brew install hugoTo create the site and set up the theme:
hugo new site myblog --format=yamlIn the folder where you created your blog, initialize the Hextra theme:
cd myblog
hugo mod init github.com/username/myblog
hugo mod get github.com/imfing/hextra
In the hugo.yaml file, just add the module:
module:
  imports:
    - path: github.com/imfing/hextra
To create the navigation menu, after importing Hextra in hugo.yaml, add:
# Navigation Menu
menu:
  main:
    - name: About
      pageRef: /about
      weight: 1
    - name: Contact ↗
      url: ""
      weight: 2
    - name: Search
      weight: 3
      params:
        type: search
    - name: Rss
      weight: 4
      url: "/index.xml"
      params:
        icon: rss
Creating the first test pages
hugo new content/_index.md
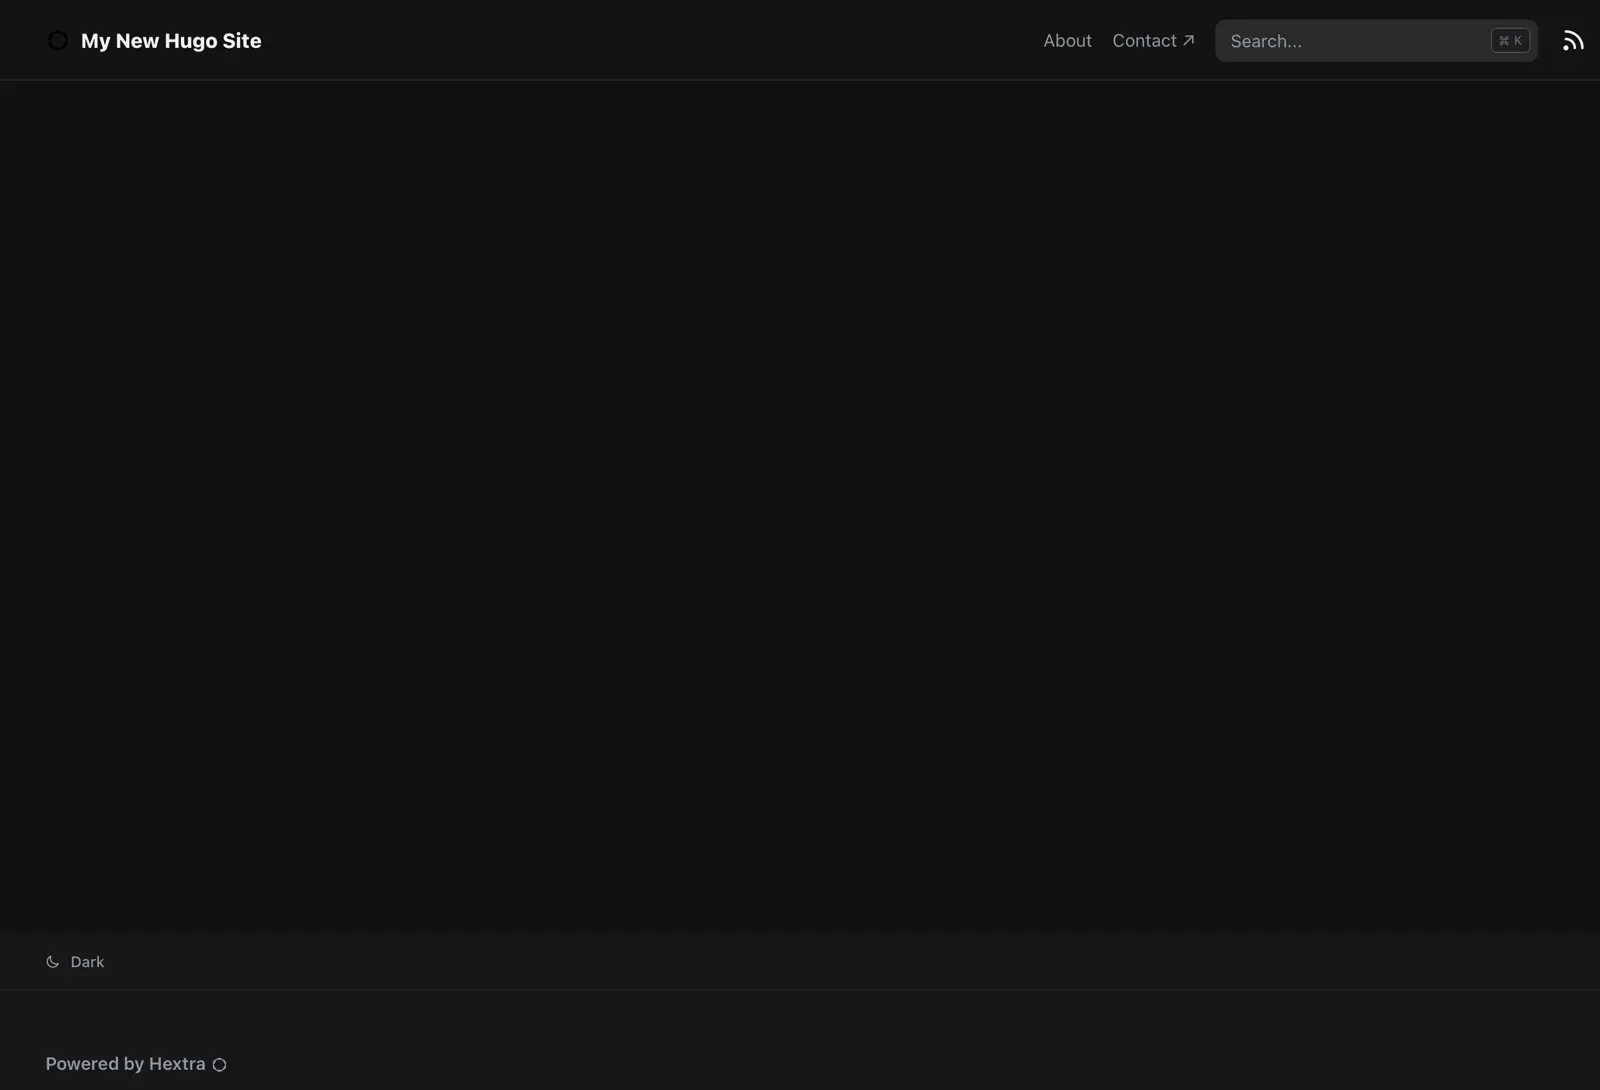
hugo new content/docs/_index.mdTo run the blog locally, start the Hugo server and access http://localhost:1313
hugo server --buildDrafts --disableFastRenderIf the command runs without errors, you’ll see the site loaded in your browser, like in the image below:
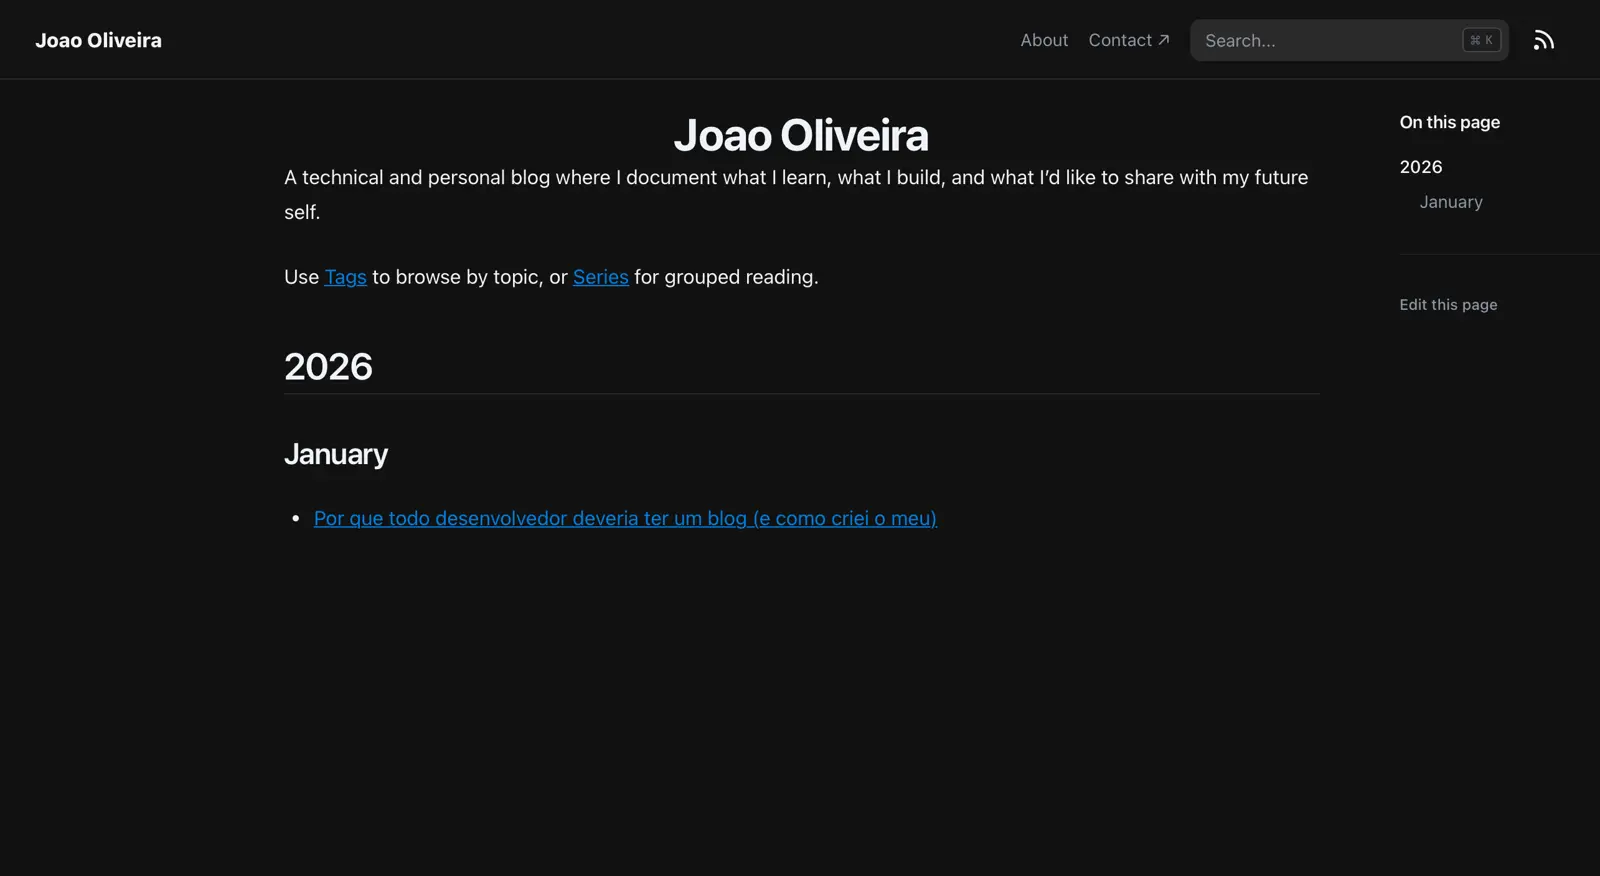
I organize posts in content/blog by year and month (e.g., 2026/01). This way I can publish quickly, keep the content organized, and let Hugo handle the index and navigation between posts.
Hextra has very comprehensive documentation with all configuration options. You can check it here: Hextra configuration guide.
Extra commands To update all Hugo modules in the project to the latest version:
hugo mod get -uTo update only the Hextra theme to the latest version:
hugo mod get -u github.com/imfing/hextraOptionally, after updating, you can ensure go.sum and dependencies are consistent:
hugo mod tidySimple deployment with Netlify
Now that everything is configured and running locally, the next step is to deploy. I decided to choose Netlify. I had already seen many developers praising how simple the process is, and it genuinely surprised me. I just pushed the project to GitHub and connected my account. In seconds, the blog was online with a temporary URL.
To use my custom domain, I configured the DNS records like this:
Registro A      @      75.2.60.5
Registro CNAME  www    joaooliveira.netlify.app
Within a few seconds, the blog was accessible at: https://joaooliveira.net
Conclusion
I found the balance I was looking for: a personal blog with low maintenance effort and high control over the content. Now the focus is writing, without getting lost in endless customization. The Hugo + Hextra + Netlify combo delivers simplicity now and flexibility for the future.
Links and References
Project
- GitHub repository: Source code, configuration, and folder structure for this blog.
Referências Úteis
- Meu novo blog: como eu fiz: Fabio Akita’s article that inspired my choice of stack.
- Hextra Official Documentation: Complete guide to configuring and customizing the theme used.