Optimizing Images for the Web with Go and Docker
When I decided to create my own blog, I already knew I would need to be responsible for hosting the images I’d use. It would be a great opportunity to learn more about AWS S3, something that was already on my study roadmap—and working on a real project is, almost always, the best way to learn.
As soon as I started writing the first post, I created my AWS account and the S3 bucket I would use for the blog. However, before diving into the sea of configuration options and possible optimizations, I knew I had to optimize my images. There are thousands of online services that do this, but where would the fun be? I wanted something local, fast, customizable, and independent of third parties.
So I decided to build ImagePipe: a CLI tool that converts images to WebP, resizes them to a safe 1600px limit, and can run anywhere via Docker.
Why WebP and 1600px?
WebP is a modern format that offers an excellent balance between quality and performance:
- Better Compression: Reduces file size by up to 35% compared to JPEG.
- Versatility: Supports transparency (like PNG) and animations (like GIF) with much smaller files.
- SEO and Performance: Lightweight images improve LCP, a crucial factor for Google ranking.
- Smart Resolution: Capping width at 1600px ensures the image looks sharp on large screens without loading unnecessary pixels that hurt mobile performance.
Creating the Go project
The first step was structuring the Go module. In the terminal:
mkdir ImagePipe
cd ImagePipe
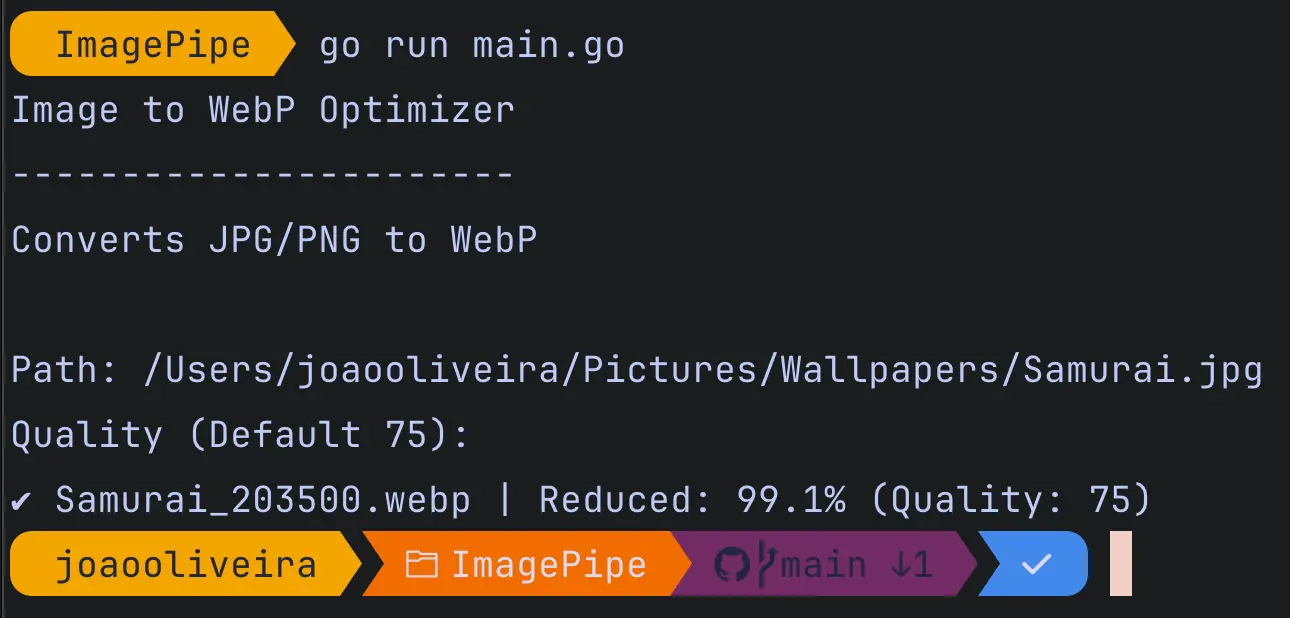
go mod init github.com/JoaoOliveira889/ImagePipeInside this folder, create a main.go file and paste the code below. By default, the program reduces quality to 75%, but that value can be changed via a runtime parameter. You can also run it locally without Docker using go run main.go and then drag an image into the terminal or type the full path.
With Docker, we’ll configure it so it can be called from any folder on the OS. For example: if you’re in the pictures folder, you can simply run imagepipe photo.jpeg to generate the optimized version.
package main

import (
	"bufio"
	"fmt"
	"image"
	_ "image/jpeg" // Register JPEG decoder for image.Decode
	_ "image/png"  // Register PNG decoder for image.Decode
	"os"
	"path/filepath"
	"strconv"
	"strings"
	"time"

	"github.com/chai2010/webp" // WebP encoder library
	"golang.org/x/image/draw"  // High-performance image scaling package
)

func main() {
	var inputPath string
	var qualityStr string
	quality := 75 // Default compression quality

	// 1. Input Handling: Supports both CLI arguments and interactive mode
	if len(os.Args) >= 2 {
		inputPath = os.Args[1]
		if len(os.Args) > 2 {
			qualityStr = os.Args[2]
		}
	} else {
		// Interactive Mode for local execution
		fmt.Println("Image to WebP Optimizer")
		fmt.Println("-----------------------")
		fmt.Print("\nPath (File or Folder): ")

		scanner := bufio.NewScanner(os.Stdin)
		if scanner.Scan() {
			inputPath = scanner.Text()
		}

		fmt.Print("Quality (Default 75): ")
		if scanner.Scan() {
			qualityStr = scanner.Text()
		}
	}

	// Clean path: Remove quotes and handle escaped spaces (common when dragging files to terminal)
	inputPath = strings.Trim(strings.TrimSpace(inputPath), "\"'")
	inputPath = strings.ReplaceAll(inputPath, `\ `, " ")

	if inputPath == "" {
		fmt.Println("Error: No path provided.")
		return
	}

	// Parse quality string to integer
	if qualityStr != "" {
		if q, err := strconv.Atoi(strings.TrimSpace(qualityStr)); err == nil {
			quality = q
		}
	}

	// 2. Path Analysis: Check if target is a single file or a directory
	fileInfo, err := os.Stat(inputPath)
	if err != nil {
		fmt.Printf("Error: Path '%s' not found.\n", inputPath)
		return
	}

	if fileInfo.IsDir() {
		// Batch Processing
		fmt.Printf("\nProcessing folder: %s\n", inputPath)
		files, _ := os.ReadDir(inputPath)
		for _, f := range files {
			ext := strings.ToLower(filepath.Ext(f.Name()))
			// Filter supported image formats
			if ext == ".jpg" || ext == ".jpeg" || ext == ".png" {
				processImage(filepath.Join(inputPath, f.Name()), quality)
			}
		}
	} else {
		// Single file processing
		processImage(inputPath, quality)
	}
}

// processImage handles the decoding, resizing, and WebP encoding logic
func processImage(path string, quality int) {
	file, err := os.Open(path)
	if err != nil {
		fmt.Printf("Error opening %s: %v\n", path, err)
		return
	}
	defer file.Close()

	inInfo, _ := file.Stat()
	img, _, err := image.Decode(file) // Decode the original image buffer
	if err != nil {
		fmt.Printf("Error decoding %s: Please use JPG or PNG\n", path)
		return
	}

	// 3. Resolution Optimization: Caps width at 1600px
	bounds := img.Bounds()
	if bounds.Dx() > 1600 {
		newW := 1600
		// Calculate height maintaining the original aspect ratio
		newH := (bounds.Dy() * newW) / bounds.Dx()

		dst := image.NewRGBA(image.Rect(0, 0, newW, newH))

		// Use Catmull-Rom resampling for high-quality downscaling
		draw.CatmullRom.Scale(dst, dst.Bounds(), img, bounds, draw.Over, nil)
		img = dst
	}

	// 4. Output Creation: Append timestamp to filename to prevent overwriting
	ts := time.Now().Format("150405")
	outPath := strings.TrimSuffix(path, filepath.Ext(path)) + "_" + ts + ".webp"

	outFile, err := os.Create(outPath)
	if err != nil {
		fmt.Printf("Error creating output file: %v\n", err)
		return
	}
	defer outFile.Close()

	// 5. WebP Encoding: Apply final compression
	err = webp.Encode(outFile, img, &webp.Options{Quality: float32(quality)})
	if err != nil {
		fmt.Printf("Error encoding WebP: %v\n", err)
		return
	}

	// 6. Performance Report: Calculate and display size reduction
	outInfo, _ := os.Stat(outPath)
	savings := float64(inInfo.Size()-outInfo.Size()) / float64(inInfo.Size()) * 100
	fmt.Printf("✔ %s | Reduced: %.1f%% (Final: %d KB)\n",
		filepath.Base(outPath),
		savings,
		outInfo.Size()/1024,
	)
}
I set it up to work only with PNG and JPEG images. If you need to add other formats, just include them here:
"image"
	_ "image/jpeg"
	_ "image/png"
Installing dependencies
Now, in the project folder, install the two dependencies:
go get github.com/chai2010/webp
go get golang.org/x/image/draw
go mod tidy
With that, you can already run the project with:
go run main.goIn the terminal, just drag the image you want to convert or provide the full path. Then it will ask whether you want to change the default quality. If you do, enter the new value; otherwise, press Enter to keep the default and run the program.
Running via Docker (calling it from any folder)
I don’t want to repeat the manual flow every time I need to prepare images to upload to S3. So I packaged the tool into a multi-stage Docker build. This produces an extremely lightweight final image containing only the required binary.
The Dockerfile:
# Stage 1: Build the binary
FROM golang:1.25.5-alpine AS builder

# Install build dependencies for CGO
RUN apk add --no-cache gcc musl-dev

WORKDIR /app

# Copy dependency files
COPY go.mod go.sum ./
RUN go mod download

# Copy the rest of the source code
COPY . .

# IMPORTANT: We use TARGETARCH to make this work on any machine
ARG TARGETARCH
RUN CGO_ENABLED=1 GOOS=linux GOARCH=$TARGETARCH go build -o imagepipe .

# Stage 2: Final lightweight image
FROM alpine:latest
RUN apk add --no-cache libc6-compat

WORKDIR /data
COPY --from=builder /app/imagepipe /usr/local/bin/imagepipe

ENTRYPOINT ["imagepipe"]
Now just build the image:
docker build -t imagepipe .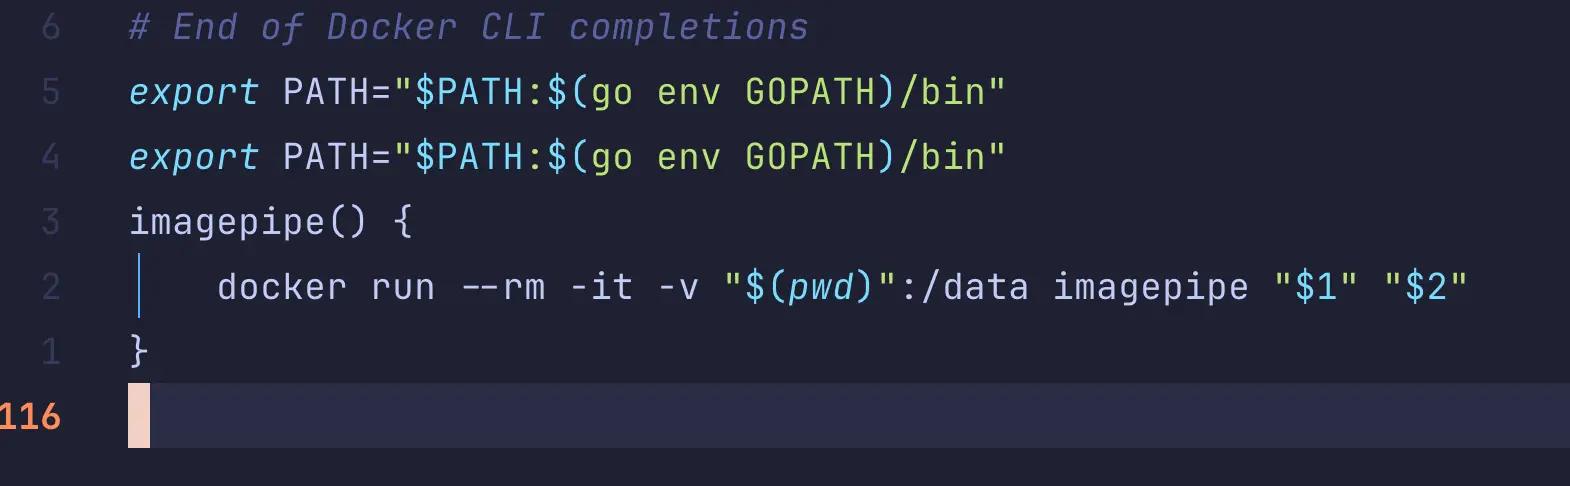
Making it easier with Shell Functions
Since the goal is to call it from any folder, let’s configure a shell function. I’ll use Neovim to edit ~/.zshrc, but you can use whatever editor you prefer:
nvim ~/.zshrcAt the end of the file, add:
imagepipe() {
    docker run --rm -it -v "$(pwd)":/data imagepipe "$1" "$2"
}
What does this command do?
- –rm: Removes the container after use, keeping your system clean.
- -v “$(pwd)”:/data: Maps your current folder into the container. This way, ImagePipe reads your local images and saves the results in the same folder.
- $1 and $2: The path and quality arguments you pass in the terminal.

Now reload the shell:
source ~/.zshrcFinal result
To run via Docker, just use one of the commands below in the folder that contains the images:
| Goal | Command |
|---|---|
| Convert a specific image | imagepipe photo.jpg |
| Set a specific quality (90%) | imagepipe photo.jpg 90 |
| Optimize all images in the folder | imagepipe . |
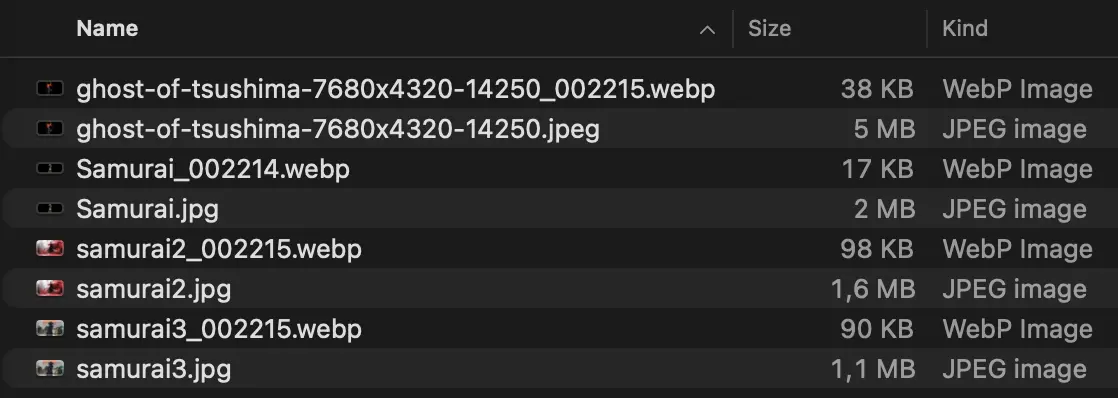
The program generates a .webp file with a timestamp in the name, ensuring your original images are never overwritten.
Conclusion
With this simple project, I can quickly optimize my images to upload to S3 without relying on any external system, and I can adapt the flow to different scenarios whenever I need to. It’s not about reinventing the wheel—it’s about creating something useful, fun, and fully tailored to my needs.
Links and References
- Project: GitHub repository
- Libs: Chai2010/WebP | Go Draw